
How to Make a Simple Art Journal/Travel Journal
The wonder of drawing, is that you can capture the feel of a moment. Most cameras cannot do that as well as a drawing can, although an experienced and talented photographer can certainly capture it better than most!
But lets say you want to go on vacation, and make momentoes of your trip... why not make your own journal to do it?
This way is surprisingly easy :) You will be able to make at least 2 journals out of the stuff described below.
All you need:
1 sheet of uncut matt-board (from a craft store that sells matts for pictures)
2 sets of 2 large sheets of matching scrapbook paper (i.e. 2 of one and two of another)
4 pieces of plain paper
Your choice of filler paper... I used 3 large sheets of mi-teints paper in different colours, and one pad of 10 sheets of watercolour paper (130lb)
1. Cut the mat board into 4 covers. Mine all measure approximately 6.5" x 10".
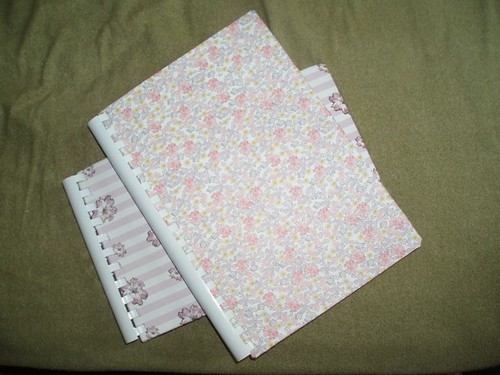
2. Cover one side of these with the scrapbook paper. Use a white glue such as Elmer's or Tacky Glue, and cover the paper. I mitred the corners by pushing the corner down BEFORE the sides.
3. Cut the plain paper so it is just slightly smaller than the matt-board, and cover the other side of the covers. This is the endpaper. You can just see the cover and the endpaper in the photo below. You might like to add an elastic cover closure before gluing the endpaper down. Those are made by gluing a piece of elastic the appropriate size to go around your completed book, UNDER the endpaper. They are quite useful if you glue things into your journal.

4. Cut the paper into sizes just slightly smaller than the matt board covers. You can see my paper as I cut it above. Given another chance, I would use a paper cutter/guillotine and measure it rather than folding it and cutting as I did :) I would also cut them slightly bigger than shown!
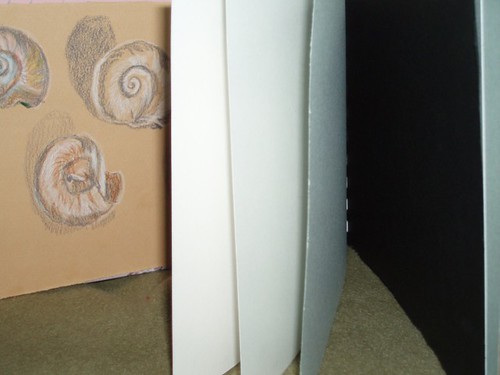 This picture shows you the different papers... three different Mi-Teintes (black, blue and sand) and white watercolour paper (cold press).
5. Use a spiral binding or comb binding machine to punch holes in the side of the papers and covers, and bind with a spiral or comb. A copy place will do this for you at a reasonable price, if you don't have access to a machine.
Why make your own?
Because you customise the paper. My has paper capable of holding watercolours AND different colours/textures of paper. This is actually a very enjoyable thing to play around with... after all, whites will actually SHOW on coloured paper ;)
Why comb/spiral?
Because it allows you to add things your book. The combs and spirals allow you to paste things INTO a book- a map of your trip, ephemera you collect AS WELL as the drawings and paintings you might make :) Not to mention you can easily adjust the bound side or size of your book. This one is bound on the short side:
 While the one at the top was bound on the long side :)
Why Matt Board?
Because it is nice and thick... which means maximum protection for your work AND it is easy to get! One sheet did both these books, with enough left over for maybe two more!!
And there you have it, a simple book for using as an art/travel journal. You can also use it as a nature diary if you like, or a simple sketch book... your own preference :)
This is lovely, and inspiring! I also like a Place for Precious Things. I am thinking of making one of these for my littlest. She is always bringing me things that she finds outside and I never know what to do with them! I think she will like that!
ReplyDeleteHugs,
Kim
My kids love their boxes, and now the nature finds are MUCH cleaner ;) I think DS even has a snakeskin in his...
ReplyDeleteNeat!
ReplyDelete